
You’ve waited two, maybe three years for your presale. Now the developer calls to book your PDI, and it’s tempting to treat it like a fun first visit. Don’t. The pre-delivery inspection is your best chance to get problems written down and fixed before you move in. Here’s how to do it properly.
What Is a PDI and When Does It Happen?
A PDI (pre-delivery inspection) is a walkthrough of your new home with the developer’s representative, usually one to four weeks before completion. Together, you check that everything is finished, working and undamaged, and you list any problems on a deficiency form that both of you sign.
That signed list is what the developer commits to fix. Anything that’s not on it can be harder to get repaired later, especially cosmetic damage like scratches, chips and dents, because the developer can argue it happened after you moved in.
Plan for one to two hours for a condo and longer for a townhome. Don’t let anyone rush you.
What to Bring to Your PDI
- Your purchase contract, upgrade list and colour selections
- The floor plan with measurements
- A phone and charger (to test outlets) or a cheap outlet tester
- A flashlight for closets, under sinks and dark corners
- Low-tack painter’s tape to mark small marks and scratches (ask first; some developers provide stickers)
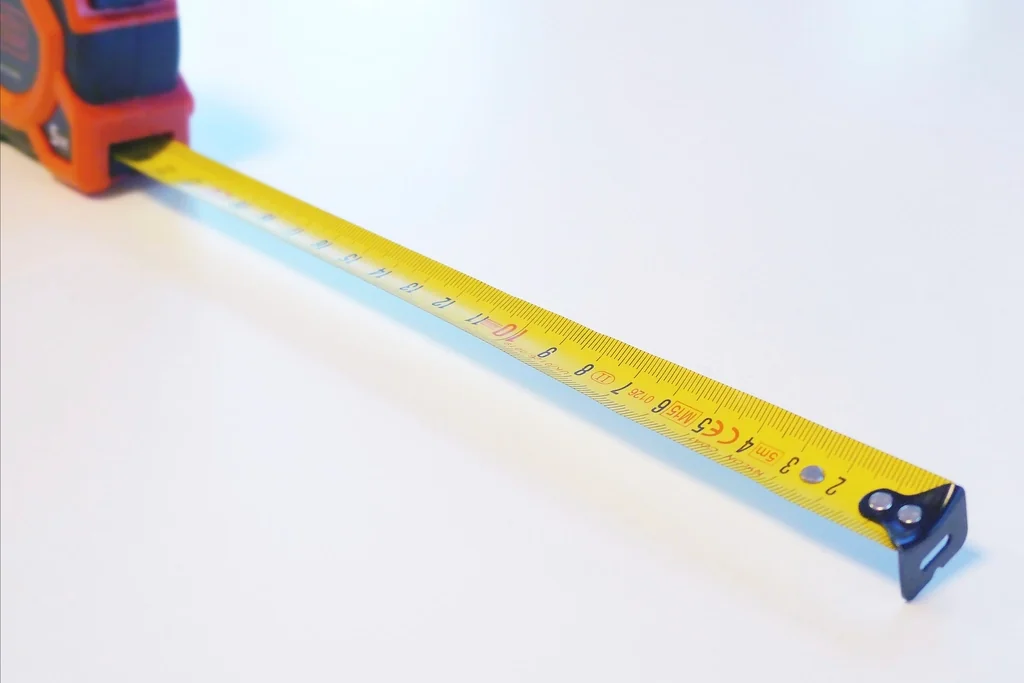
- A tape measure and a small level
- A notebook, or your phone for notes
- Your camera, for photos and video of every issue
- A second person, if possible. Two sets of eyes catch more
Should You Hire a Professional Inspector for a New Condo?
New doesn’t mean perfect. Trades work on tight schedules, and things get missed. A professional inspector who does new-build inspections often catches issues you wouldn’t spot, like missing insulation behind an access panel, poor drainage on a balcony or electrical problems.
Things to know:
- Ask the developer first. Some allow a third-party inspector to attend the PDI, some limit it, and some require a separate appointment.
- Cost: usually a few hundred dollars for a condo, more for a townhome.
- Worth it most for: townhomes, larger units, ground-floor units and anyone who isn’t confident checking things themselves.
If you’re curious what an inspector actually checks, our guide on what a home inspection includes covers the basics.
Walls, Floors, Doors and Finishes Checklist
Go slowly, room by room, at eye level and then low to the ground.
- Walls and ceilings: dents, nail pops, cracks, patchy paint, missed spots, drips
- Floors: scratches, chips, gaps between boards, lifting edges, cracked tiles, uneven grout, squeaks
- Baseboards and trim: gaps, missing caulking, damage, nail holes not filled
- Doors: open and close every one, check they latch, don’t rub, and the hardware is tight
- Closets: shelves and rods installed and secure
- Stairs (townhomes): railings solid, no loose treads, no squeaks
- Finishes: match your selections and upgrades exactly
Kitchen and Appliances Checklist
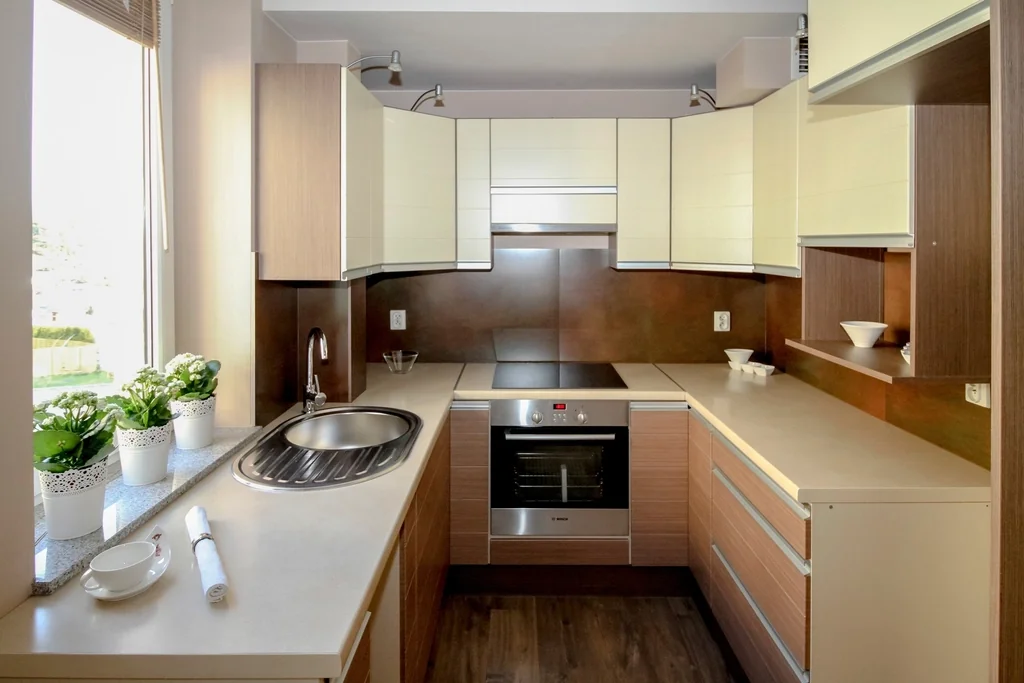
- Cabinets: doors aligned, drawers slide smoothly, soft-close working, no chips or scratches
- Countertops: no chips, cracks or stains, seams tight
- Backsplash: tiles even, grout complete, caulking around the counter
- Sink and faucet: hot and cold water, good pressure, no drips, drain works and doesn’t leak below
- Appliances: turn on every one. Fridge cools, freezer freezes, oven and cooktop heat, range hood fan and light work, dishwasher runs, microwave works
- Model numbers: match what’s in your contract
- Under the sink: look for leaks, water stains or missing seals
Bathrooms, Plumbing and Signs of Water Damage
- Run every tap for a minute, hot and cold
- Flush every toilet and check it refills and stops properly
- Fill and drain the tub and sinks to check drainage
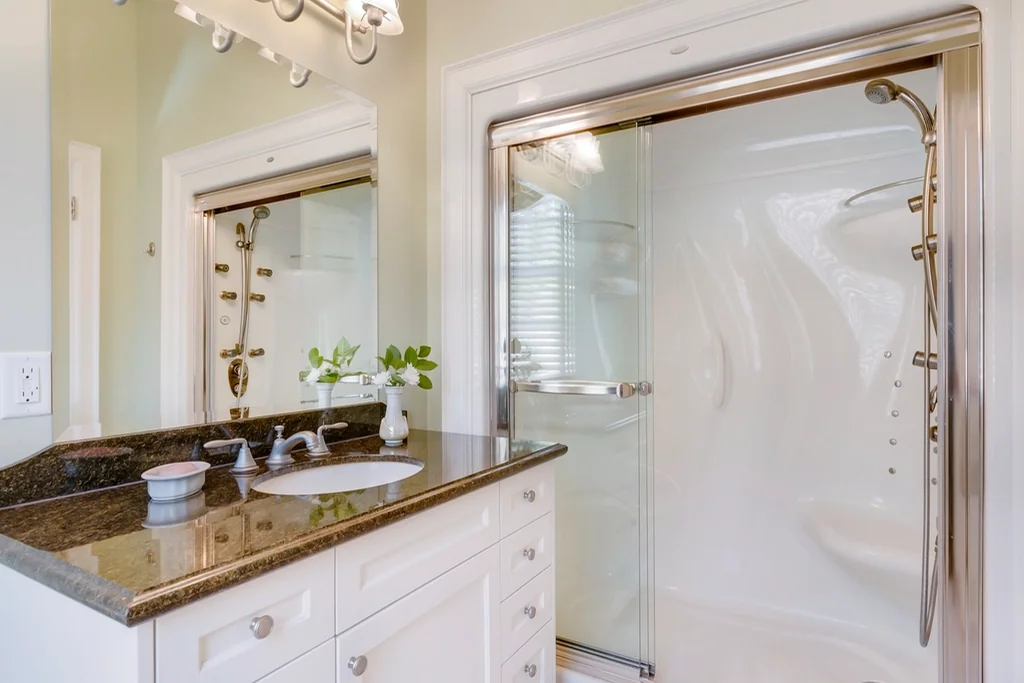
- Shower: water pressure, temperature control, glass door seals, no leaks onto the floor
- Caulking: complete around the tub, shower, sinks and toilet base
- Tiles and grout: no cracks or gaps
- Exhaust fan: works and actually pulls air
- Water stains or bubbling paint anywhere, especially on ceilings below bathrooms. Ask where any marks came from
Windows, Balcony and Building Envelope Checklist
- Windows: open, close and lock smoothly. No cracked glass, scratches or fogging between panes
- Window seals and caulking: complete inside and out where you can see
- Balcony or patio door: slides easily, locks, and the seal is intact
- Balcony or patio: slopes away from the building, drains clear, membrane not damaged, railings solid
- Exterior (townhomes): siding, flashing, downspouts and grading that sends water away from the home
Water getting into a building is the costliest defect there is. On the North Shore, with our rain, this part matters more than anywhere. Our guide to leaky condos and building envelopes explains why.
Electrical, Heating, Cooling and Ventilation Checklist
- Every light switch and fixture works, including dimmers
- Every outlet works, including outdoor and balcony outlets
- GFCI outlets in kitchens and bathrooms trip and reset
- Electrical panel: breakers labelled
- Heating: turn on every heater, in-floor heat or heat pump, and make sure it warms up
- Air conditioning: if included, it cools
- Thermostats: respond correctly
- Smoke and CO detectors: installed where required
- In-suite laundry: washer and dryer run, dryer vents outside, no leaks
- Intercom, fob and internet: test if available
Parking Stall, Storage Locker and Common Areas
Don’t stop at your front door.
- Parking stall: it’s the number and location in your contract, the size you expected, and an EV charger or rough-in if included
- Storage locker: correct number, door locks, no water on the floor
- Bike storage: if assigned to you
- Common areas: lobby, hallways, elevators, gym, amenity rooms, garbage room and parkade. You co-own these through the strata, so note obvious problems and pass them to the developer and future strata council
How to Record Deficiencies So the Builder Fixes Them
How you write it down matters as much as what you find.
- Be specific: “3 cm chip in countertop, left of sink” beats “countertop damage.”
- Photograph every item, with the tape or sticker visible.
- Write everything on the official form. Verbal promises like “we’ll fix that” don’t count.
- Include small items. They’re easy to fix now and almost impossible to claim later.
- Read the form before you sign it and make sure every item you found is listed.
- Get a copy of the signed form, or a photo of it, before you leave.
- Note missing items too, like a missing shelf or appliance, not just damage.
After the PDI: Repairs, Completion and Warranty Claims
Before completion: The developer usually fixes as many items as possible before you get the keys. Ask for a second walkthrough to check the repairs if you can.
On completion: You normally have to complete on the date set by the developer, even if a few minor items are still outstanding. Completion is generally tied to the home being ready to occupy, not perfect. If you’re worried about major unfinished work, talk to your lawyer before completion day. Make sure your home insurance is in place before completion too. Here’s what condo insurance in BC needs to cover.
After you move in: Follow up in writing on anything not fixed. Keep every email.
Warranty: Your new home has 2-5-10 home warranty coverage, which deals with defects in materials and labour, the building envelope and structure over different time periods. There are strict deadlines and notice rules for claims. Our guide to the 2-5-10 new home warranty in BC explains what’s covered and when to claim.
Mark a reminder in your calendar a few weeks before your first warranty deadline and do your own walkthrough again. Problems like drywall cracks and door alignment often show up after the first winter.
Frequently Asked Questions About the Pre-Delivery Inspection
How long does a PDI take?
Usually one to two hours for a condo and two to three for a townhome. Book enough time and don’t schedule anything right after.
Can I take photos and video during the PDI?
Yes, and you should. Photos of every deficiency are your best evidence if there’s a dispute later.
Can I refuse to complete if the unit has defects?
Usually not for minor deficiencies. Completion depends on your contract and the home being ready to occupy. Get legal advice if there are serious problems.
Is the PDI the same as a home inspection?
No. A PDI is a walkthrough with the developer to list deficiencies. A home inspection is a detailed technical review by an independent inspector. You can do both.
Can my realtor attend the PDI?
In most cases, yes. Many buyers bring their agent, who has seen many PDIs and knows the common problem areas.
Buying a Presale? Have Your Realtor Walk the PDI With You
A good PDI can save you thousands in repairs and headaches. If you bought your presale with Navid Hakimi, or you’re thinking about one now, Navid can help you prepare for the walkthrough, review your deficiency list and follow up with the developer through completion.
Learn more about our presale real estate services in North Vancouver, or contact Navid to talk about your upcoming completion.
Current as of October 2026. This is general information, not legal advice. Check your purchase contract and warranty documents for the exact terms that apply to your home.